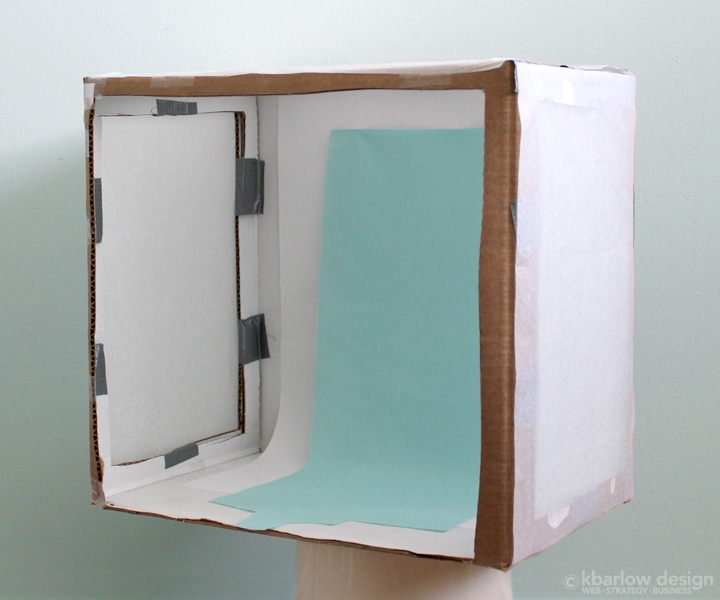
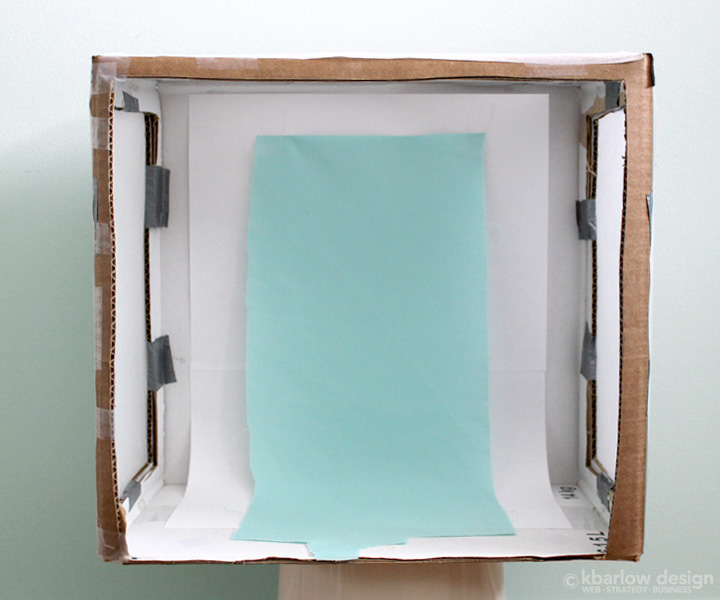
It may not look like much from the outside, but this little box has been a huge help when taking photos of felted friends over at Woodland Trail Studio!
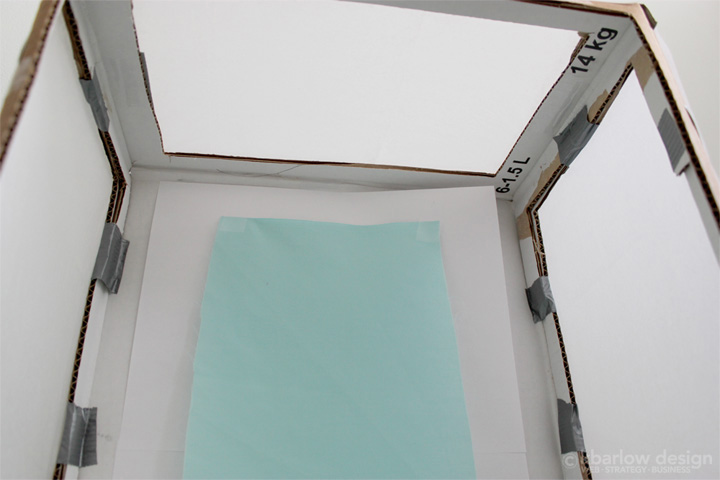
It was so easy to make, it took less than an hour, and there aren’t even any instructions needed – get a good size box (this will depend on the size of product you create), cut a hole in two sides and the top, cut off the front, tape it together, tape some white tissue paper on the holes and voilà!
The best part of it being a freestanding box, is that you can move it around your house/studio/office until you find the right light, you can set up lights to point at it, and it can be complete and total chaos all around you… but all people will see is the background colour you have within the box, and nice, soft lighting.
I chose an aqua coloured piece of fabric, I preferred it to white as it can be a bit harsh, and it’s a favourite colour of mine (and part of the branding colours for Woodland Trail Studio!).
It’s not fancy – it’s not even ironed! It’s just taped up to the back of the box so I can easily change the position if I need to, or swap out for a different piece of fabric or paper. I have a piece of printer paper behind it just to help give it a bit of structure for the curve of where it falls, but it’s not necessary.
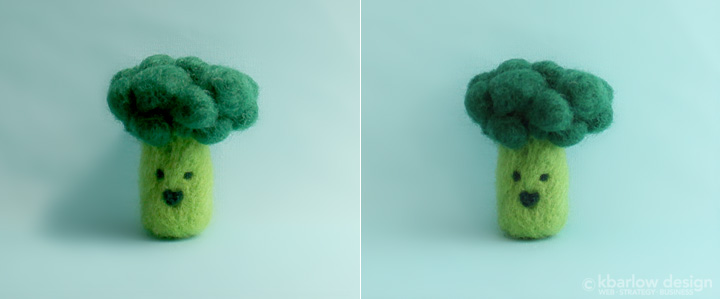
Here you can see the difference between the left and right – where I changed the outside lighting, so the shadows would be less harsh. I like to use natural light where possible, so I set up the lightbox on a side table by my sliding glass doors. The image on the left was the first test, the image on the right was when I pulled the sheer curtain to make the light less direct. I could have also moved away from the window to help, but the sheer worked great. Even if I didn’t have sheers, I could have temporarily taped some tissue paper to the glass, and added layers until the light was how I wanted, or simply moved it to a different window to test the light there.
If you’re a maker and you’d like to get more tips to make your life easier – sign up on our resources page for handy little tips and tricks delivered right to your inbox!


