Blog Banner

Treat Yourself!

Sometimes you just gotta treat yourself!

iPad Apple Pencil | kbarlowdesign.com blog
I’m super excited to have splurged on the new iPad and Apple Pencil. I’ve barely put it down since I got it, and can’t wait to keep learning!

Procreate is such an incredible app, and even though I’ve only gone through a few tutorials, I’m completely blown away with what I’ve already learned it can do!

Do you have any tips, tutorials, or brushes you can recommend to me? I’m all ears!

Canadian Makers Spring Gift Guide

Hey Product Makers and Artists!

Applications for the Spring Gift Guide are only open until April 14th! Apply yourself, or tag a maker friend / pass this along to them, we’d LOVE to feature you (and them!) in our Spring guide.

(The gift guide is a FREE magazine style guide we volunteer our time to put together to uplift and promote our fellow artisans!)

For more information and to apply, head on over to the Canadian Makers site!

The ABCs of business

I am so excited to start learning how to use my new watercolour waterbrush, and I figured I’d start with the alphabet, so here we are – the ABCs of business!

With every letter, I’ll talk a bit about each word and how it relates to running a successful business.

Excuse my shaky writing as I learn, but practice makes progress!

Follow my alphabetical journey over on Instagram, Facebook and Twitter!

How to Make a Quick & Easy Lightbox for Product Photos

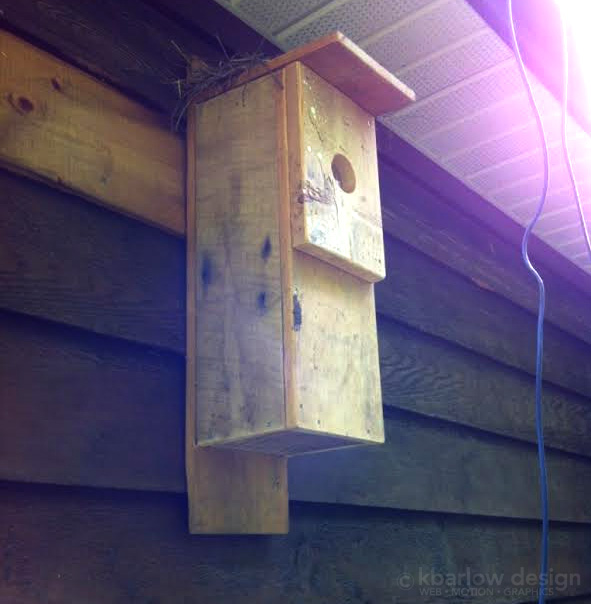
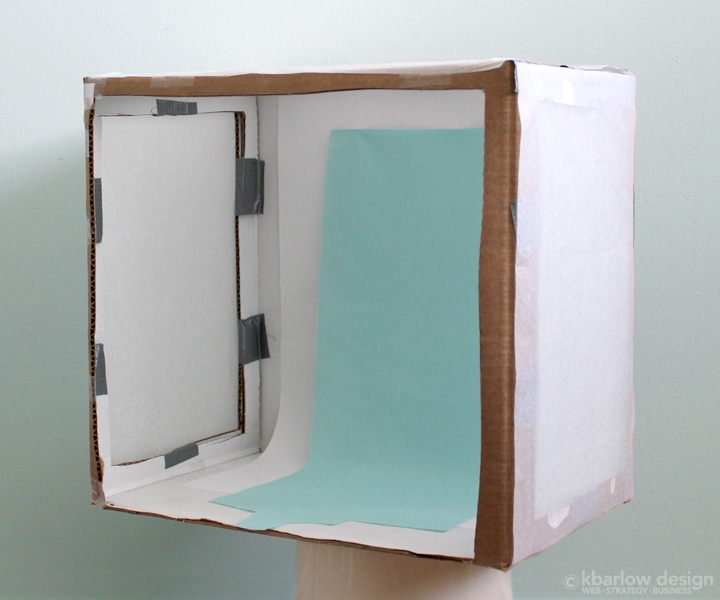
It may not look like much from the outside, but this little box has been a huge help when taking photos of felted friends over at Woodland Trail Studio!

It was so easy to make, it took less than an hour, and there aren’t even any instructions needed – get a good size box (this will depend on the size of product you create), cut a hole in two sides and the top, cut off the front, tape it together, tape some white tissue paper on the holes and voilà!

The best part of it being a freestanding box, is that you can move it around your house/studio/office until you find the right light, you can set up lights to point at it, and it can be complete and total chaos all around you… but all people will see is the background colour you have within the box, and nice, soft lighting.

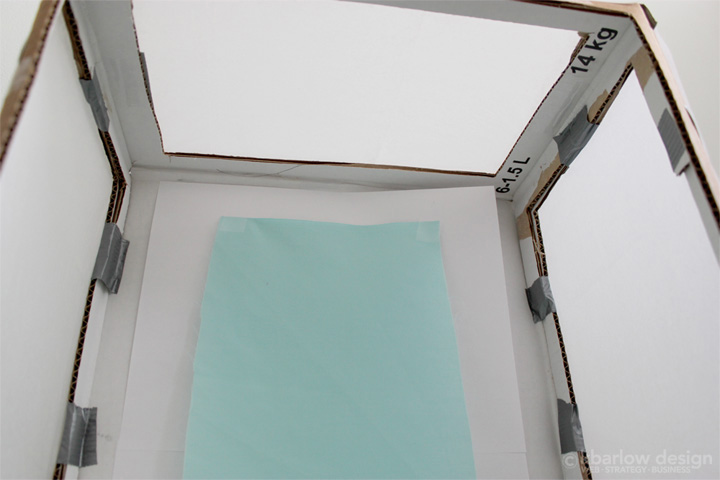
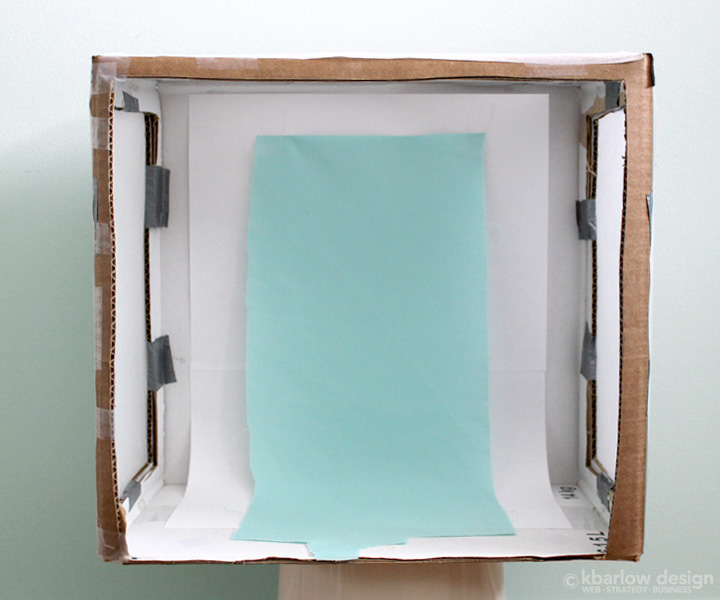
I chose an aqua coloured piece of fabric, I preferred it to white as it can be a bit harsh, and it’s a favourite colour of mine (and part of the branding colours for Woodland Trail Studio!).

It’s not fancy – it’s not even ironed! It’s just taped up to the back of the box so I can easily change the position if I need to, or swap out for a different piece of fabric or paper. I have a piece of printer paper behind it just to help give it a bit of structure for the curve of where it falls, but it’s not necessary.

lightbox

lightbox inside  lightbox

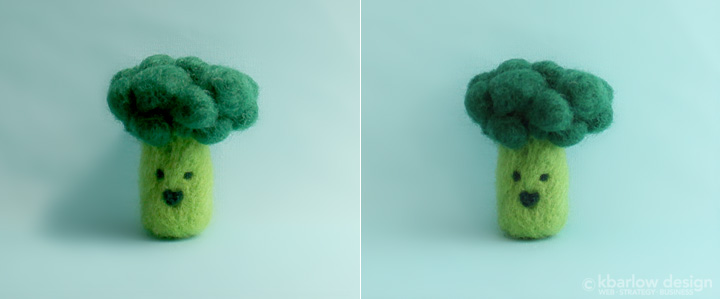
Here you can see the difference between the left and right – where I changed the outside lighting, so the shadows would be less harsh. I like to use  natural light where possible, so I set up the lightbox on a side table by my sliding glass doors. The image on the left was the first test, the image on the right was when I pulled the sheer curtain to make the light less direct. I could have also moved away from the window to help, but the sheer worked great. Even if I didn’t have sheers, I could have temporarily taped some tissue paper to the glass, and added layers until the light was how I wanted, or simply moved it to a different window to test the light there.

lightbox shadows example

If you’re a maker and you’d like to get more tips to make your life easier – sign up on our resources page for handy little tips and tricks delivered right to your inbox!

Coming soon – Services for Makers!

July 5, 2016 update: Services for Makers is now live!

It’s no secret that I love making stuff. I often joke that I collect hobbies, and they’re virtually all craft related. Needle felting, knitting, sewing clothing, making accessories, jewellery, cross-stitch, baking, you name it, I’ll make it.

For years I’ve been wanting to work with crafters/makers, but most of the people I’ve been following on social media over the years are part-time makers, going to shows like One of a Kind, or local craft shows, and they’re not interested in having a completely custom built website for something that’s more “on the side/for fun” than for a full-time business. (If you’re a full time business and want a custom site – I’d love to hear from you!)

I thought about all the makers on Etsy and Amazon that were perhaps ready to move on to having their own self-hosted site to sell their goods, or run both simultaneously. I’ve been using Shopify for years with various clients and have been really happy with the ease of use. I decided it was time to offer a few special packages just for makers that want to move forward with their own site!

I’m so excited to finally get the opportunity to work with fellow crafters, and I can’t wait to browse Instagram and pretend it’s research 😉

If you’re interested in moving to a self-hosted e-commerce site, shoot me an email, or opt-in for the Resources list and stay up to date on when we launch the new packages!

Flicker box update

Last year, I did some research online to try to find a solution for our persistent flickers that wanted to winter inside our cottage, which ended up with us creating this flicker box.

We checked on the box, and discovered something had nested on top of it…
flicker-box-update1

But after sticking the camera into the opening… something nested inside too! After a quick search, the feathers are consistent with flickers (although for a moment we thought they were owls and we got super excited).

flicker-box-feathers

As much fun as it is to know that our plan worked, something else drilled a hole through the garage… probably another flicker – but at least we know the nesting boxes work! Maybe we’ll try a few owl boxes this year too!

Woodland Trail Studio: Gary the dog

I had the privilege of being part of a special gift from one sister to another on her wedding day. I worked on Gary in secret (well, secret from Instagram!), and was thrilled to see how happy my client was with the results. I got dozens of photos of Gary to work from, showing every angle so I could match his markings as closely as possible. Although I haven’t gotten to meet him in person yet, I think I was able to see his personality through all the photos, and translate that into my felt sculpture!

gary-wts-800x800

(see more of my creations through Woodland Trail Studio here »)